

The Commodore 64 is beloved by many. Most of the Commodore 64s are close to 40 years old. The plastic used in their cases has started to become brittle. Screw posts are cracking, case clips snap and the motherboard standoffs split.
To keep you 64 feeling young again, we bring you our C64 Case Saver line of repair parts. A perfect way to breathe some new life into your C64!
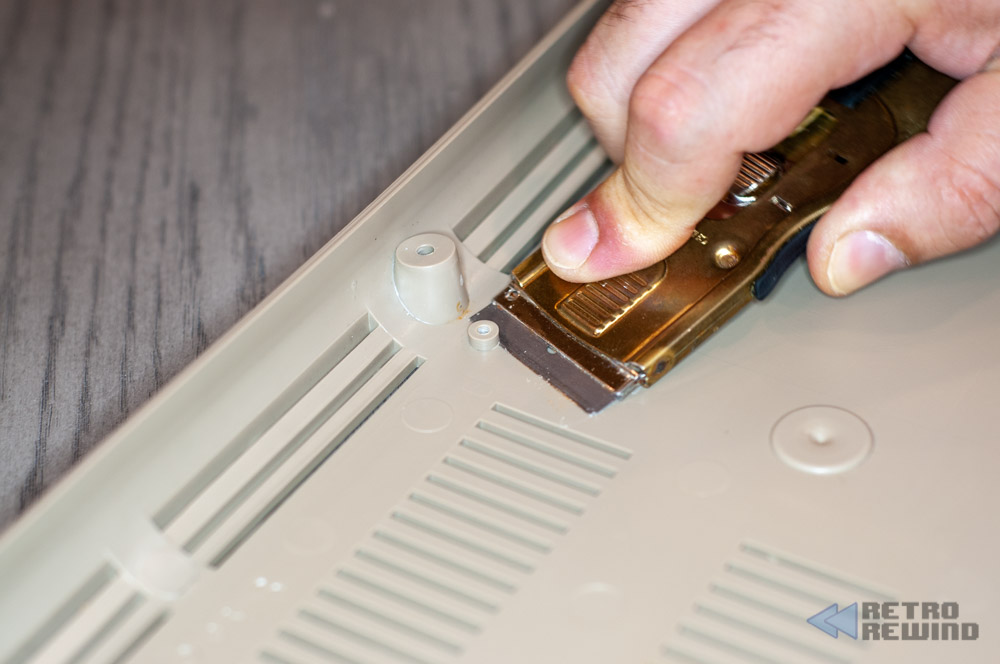
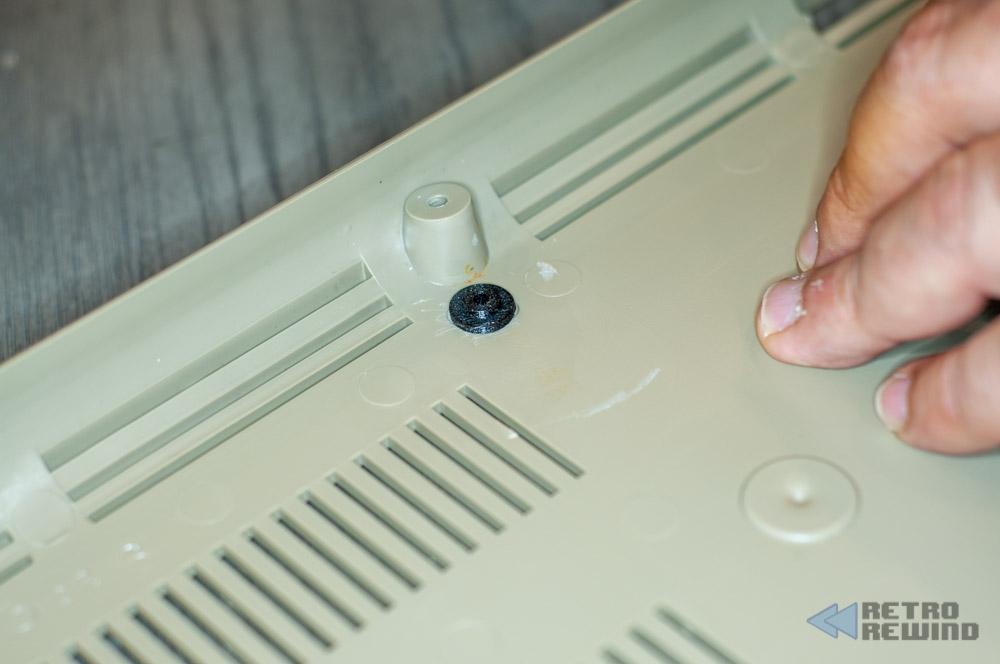
First step is to remove any broken standoff. This is best achieved by using a razor based scraper. This will allow you to remove the old standoff at its base without damaging your case.
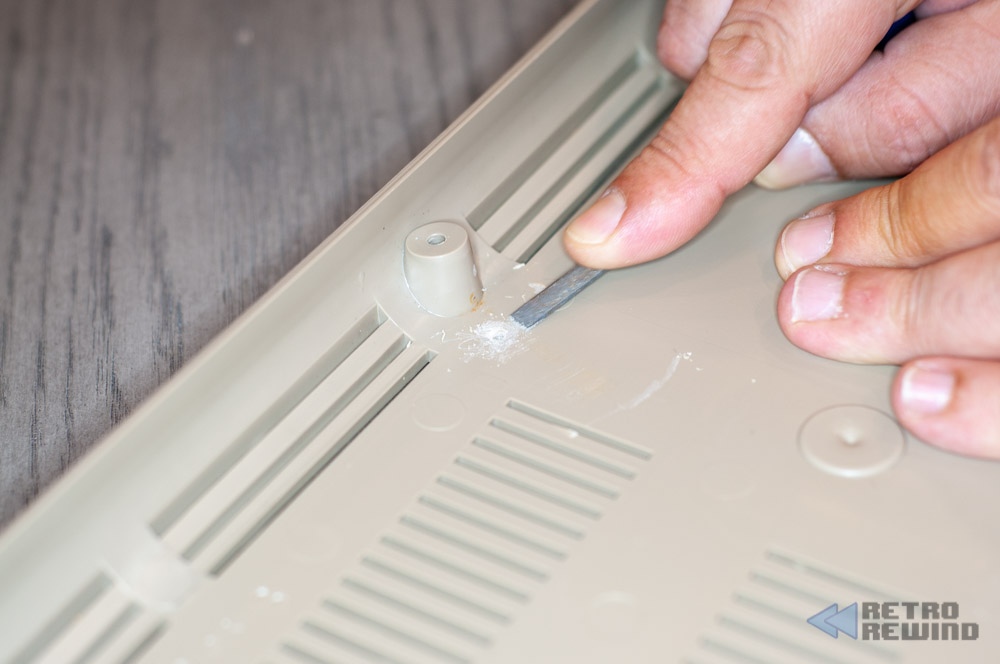
Next you want to roughen the area where you will be placing your new standoff. This allows the glue to create a solid bond to the new standoff.
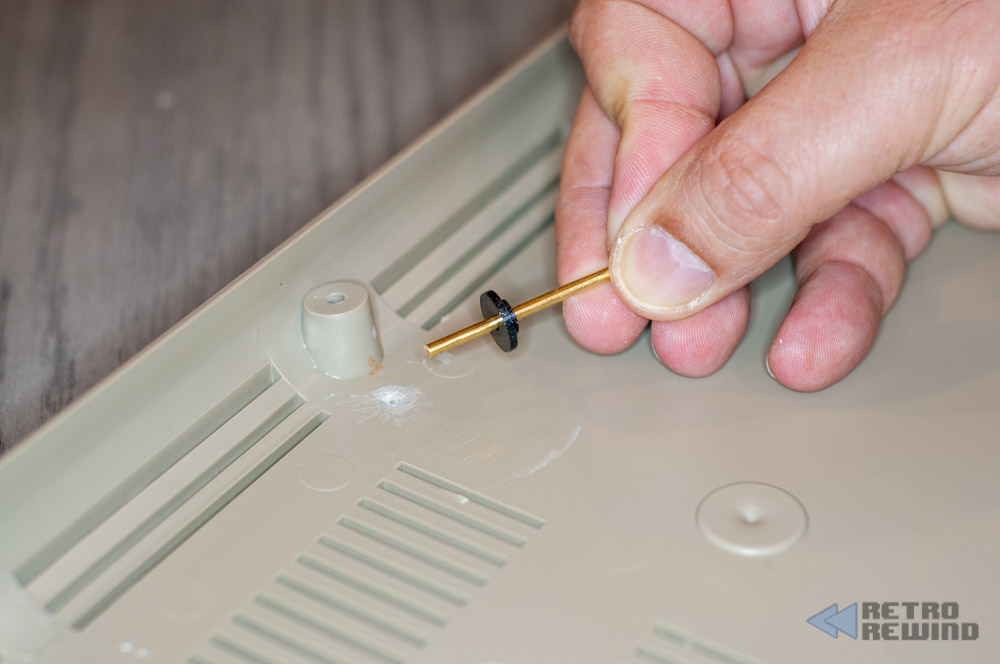
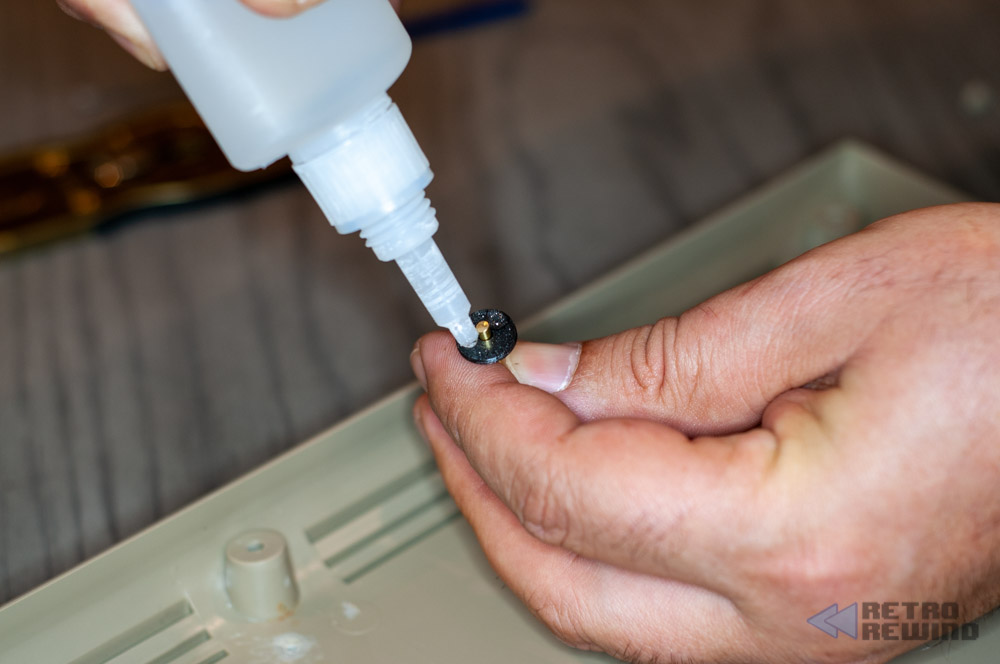
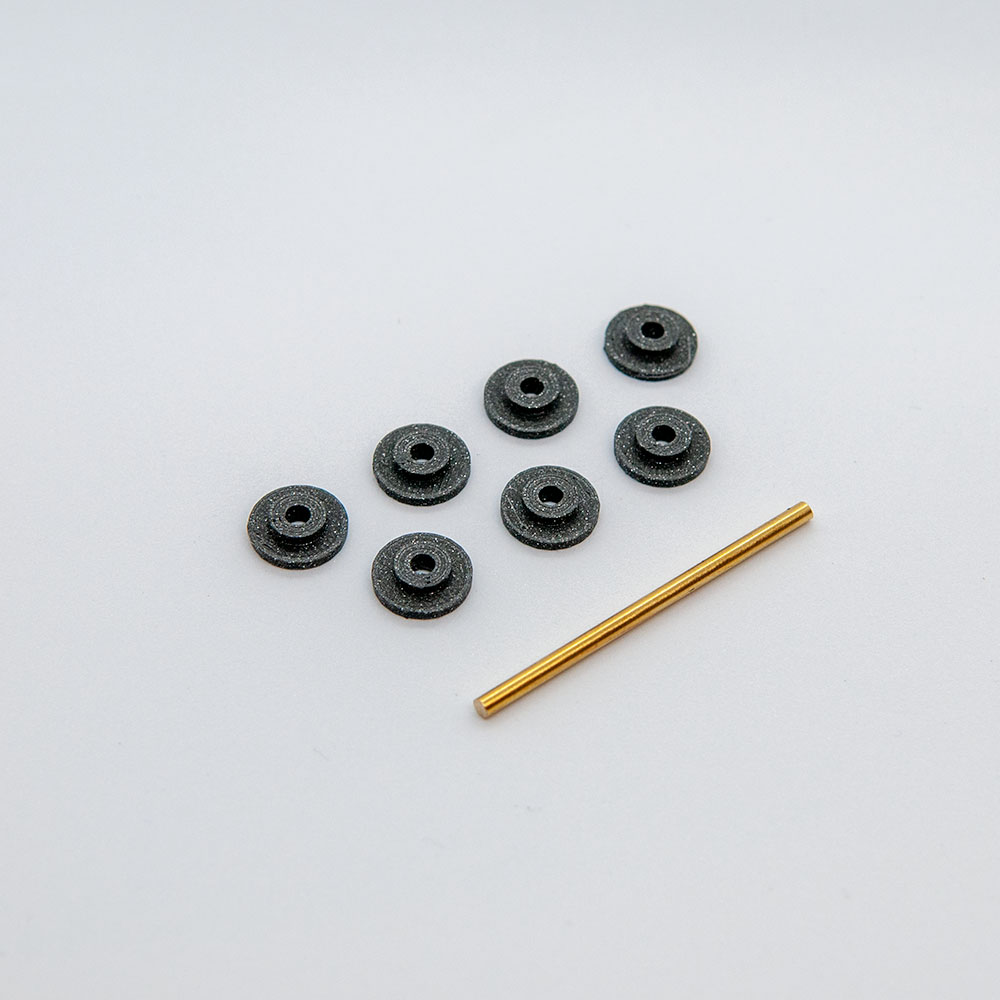
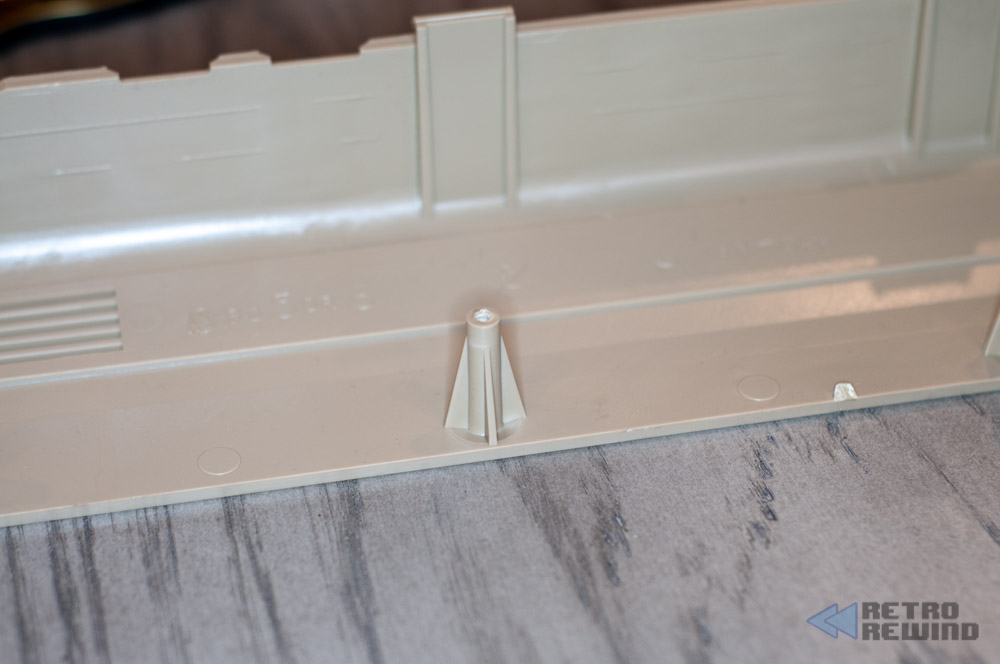
Slide the alignment rod through the standoff and add some glue to the bottom of the standoff. It is best to use a good quality cyanoacrylate (super) glue.
The previous step of roughening up the area around the standoff will create a strong bond with the new standoff.
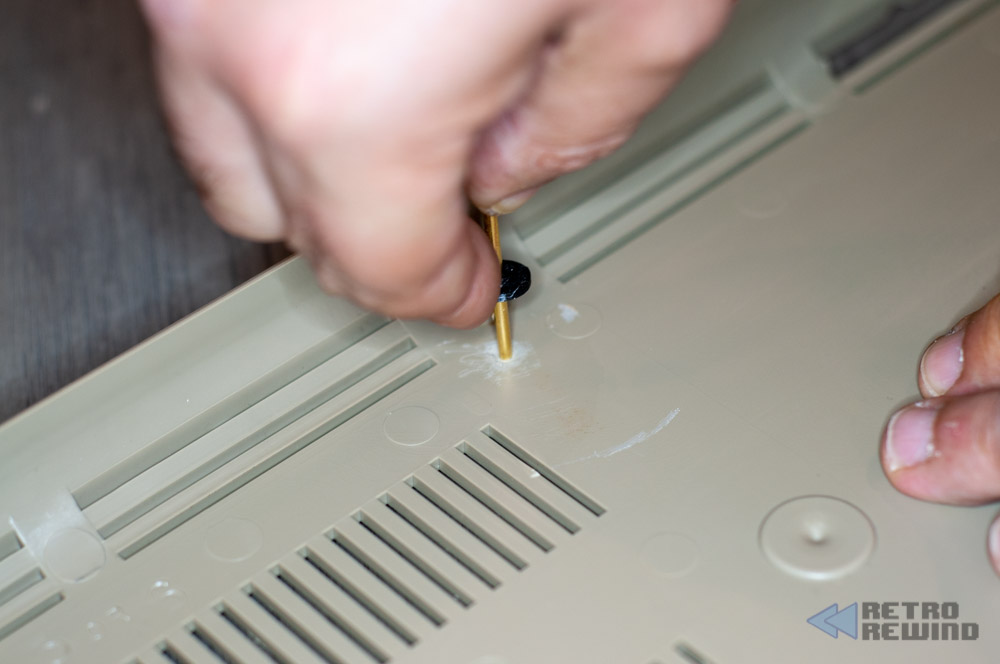
Line up the alignment rod with the hole in your case from the previous standoff. The will ensure that the new standoff lines up perfectly with the old one.
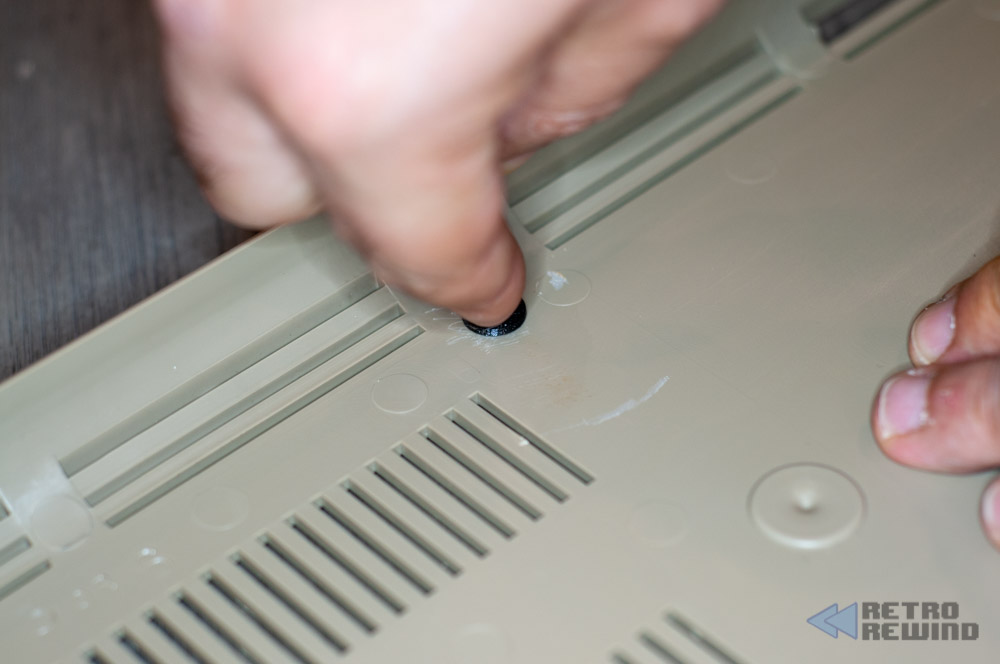
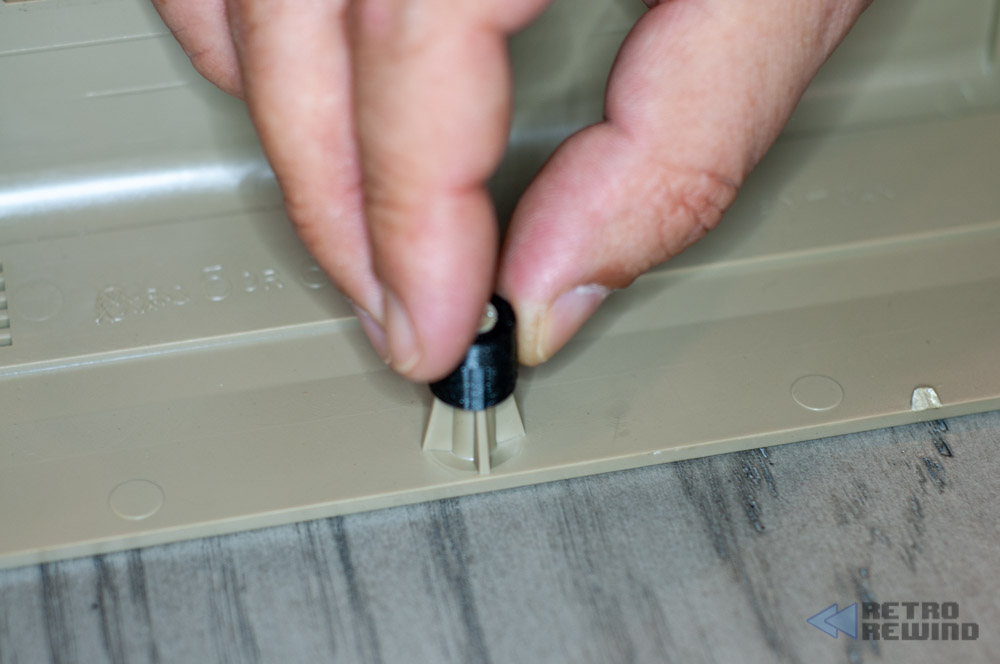
Once you have the alignment rod in the hole, slide down the standoff and put some pressure on it while removing the alignment rod.
Keep pressure on the standoff for as long as your glue requires.
You are done. Enjoy a well secured Commodore 64 motherboard.
This one couldn't be easier.
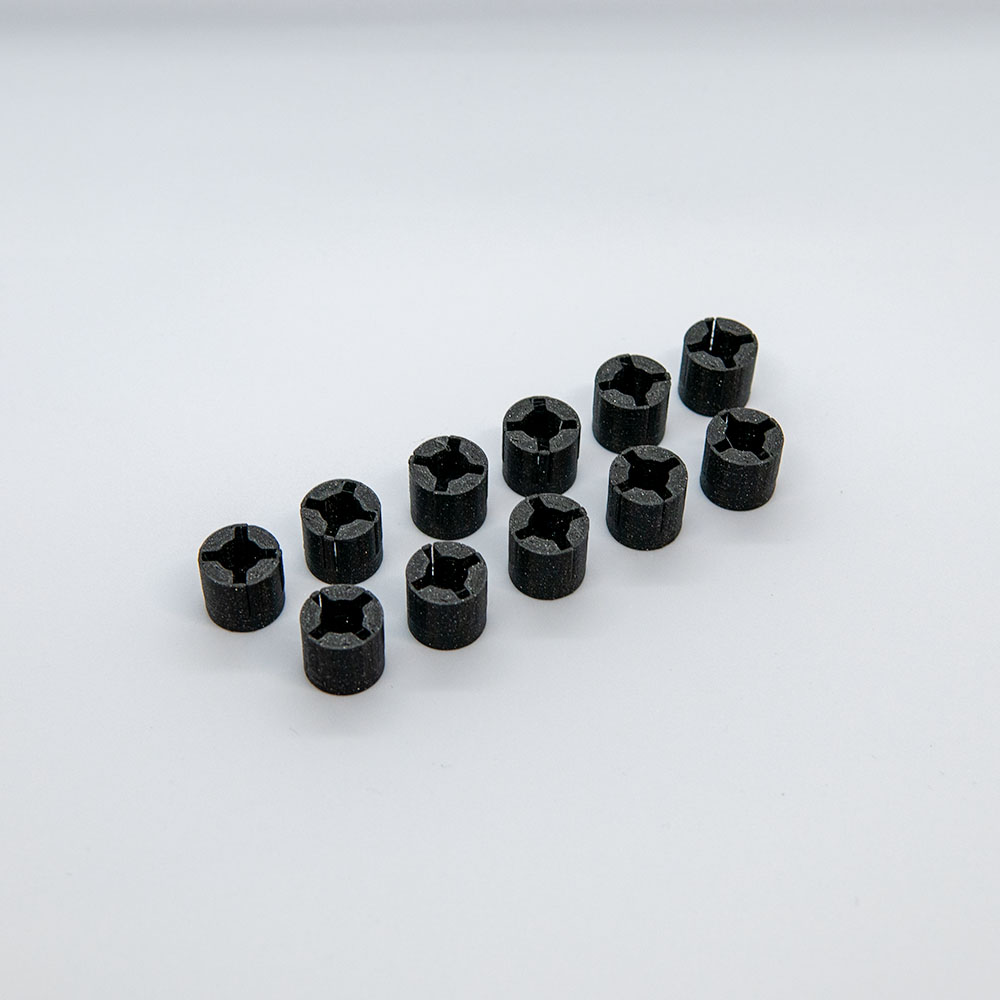
Slip some good quality cyanoacrylate (super) glue into the post support, slide the post support over the cracked post and apply some pressure until your glue cures.
All done.
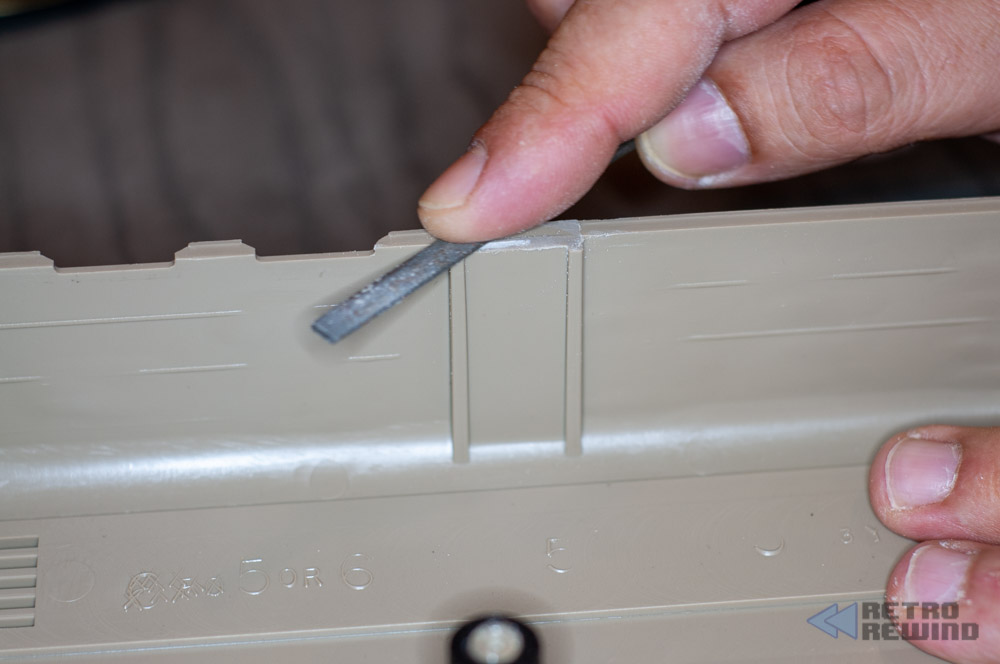
Using a small file, make sure you remove any of the plastic from the old clip. The idea is to make sure the old clip has been removed and the area is level with the rest of the case.
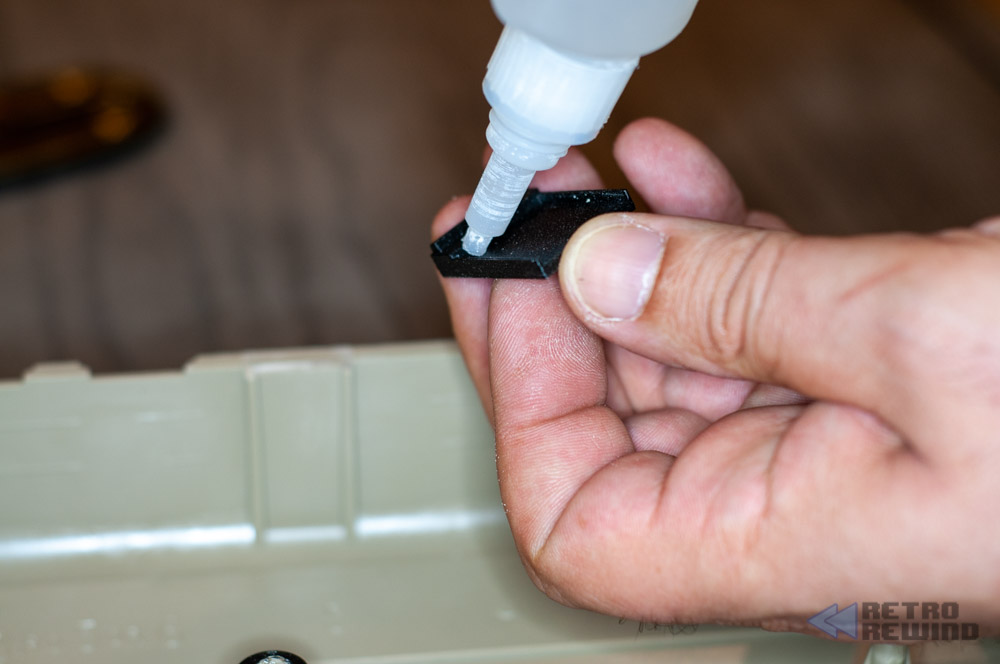
Add some good quality cyanoacrylate (super) glue to the inside of your new replacement clips.
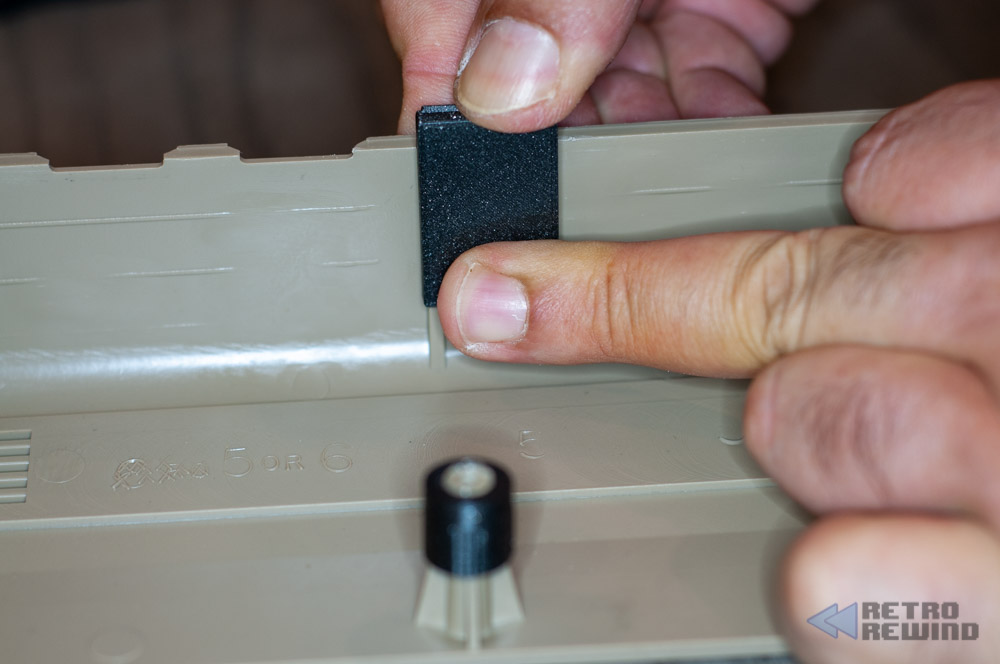
Slip your new clip over the old clip making sure than the new clip overhang is securely pressed against the lip of the case. Apply some firm pressure until your glue cures.
Enjoy your newly repaired Commodore 64 case! Add some good quality cyanoacrylate (super) glue to the inside of your new replacement clips.
|